

 6th Feb 2024
 483
483 Cyrus
Cyrus


13th Mar 2024
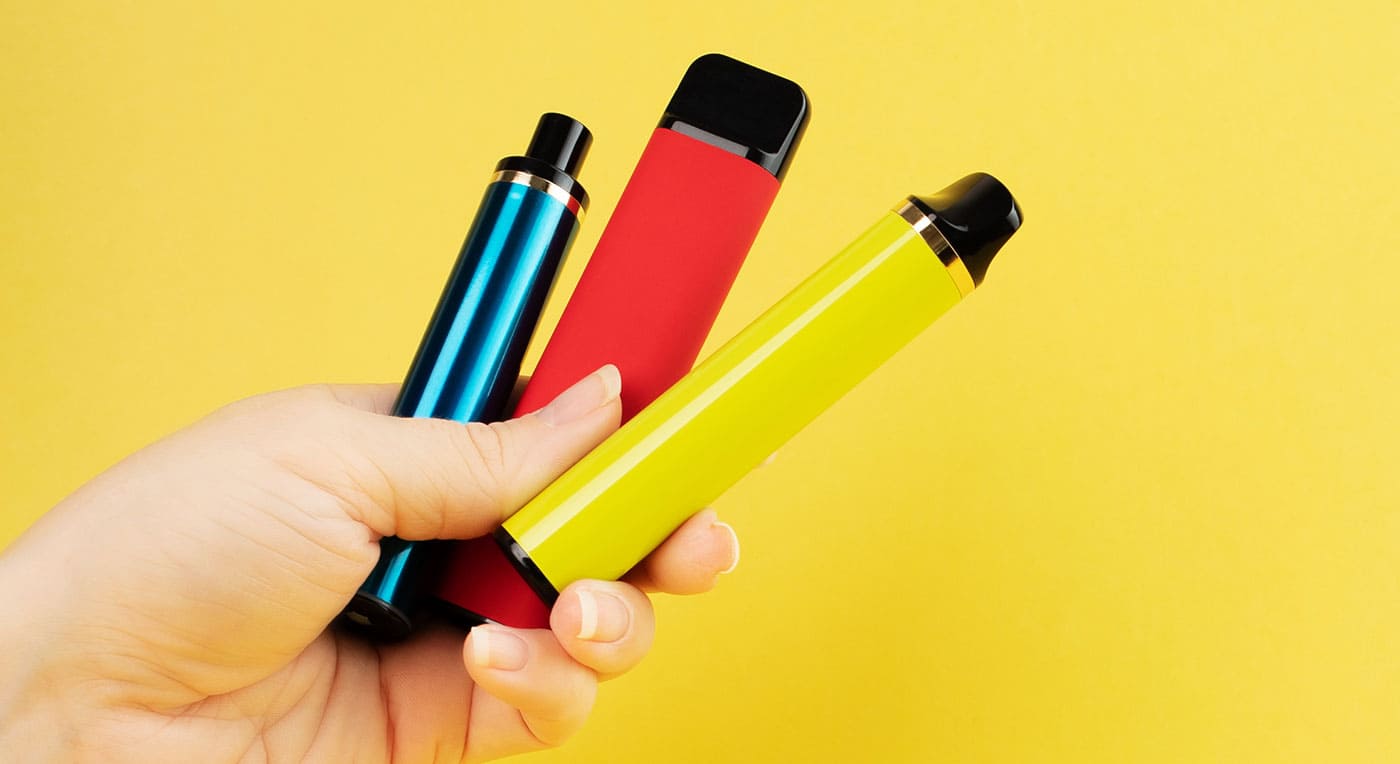
Looking to learn how to use a Pulsar vape pen? You've come to the right place! In this guide, we'll walk you through the step-by-step instructions for using a Pulsar vape battery. Whether you're a vaping novice or an experienced user, this article will provide you with all the information you need to enjoy your Pulsar vape pen to the fullest.
Pulsar is known for producing high-quality vape pens that are easy to use and deliver a smooth vaping experience. With their sleek and stylish designs, Pulsar vape pens are a popular choice among vape enthusiasts. So, grab your Pulsar vape battery and let's dive into how to use it like a pro!
What is a Pulsar Vape Device?
Before we delve into the instructions, let's start with a brief overview of what a Pulsar vape device is. Pulsar is a renowned brand known for its high-quality vape pens, offering a range of features and specifications to enhance your vaping experience. Whether you're a beginner or a seasoned vaper, Pulsar vape pens cater to all levels of expertise.
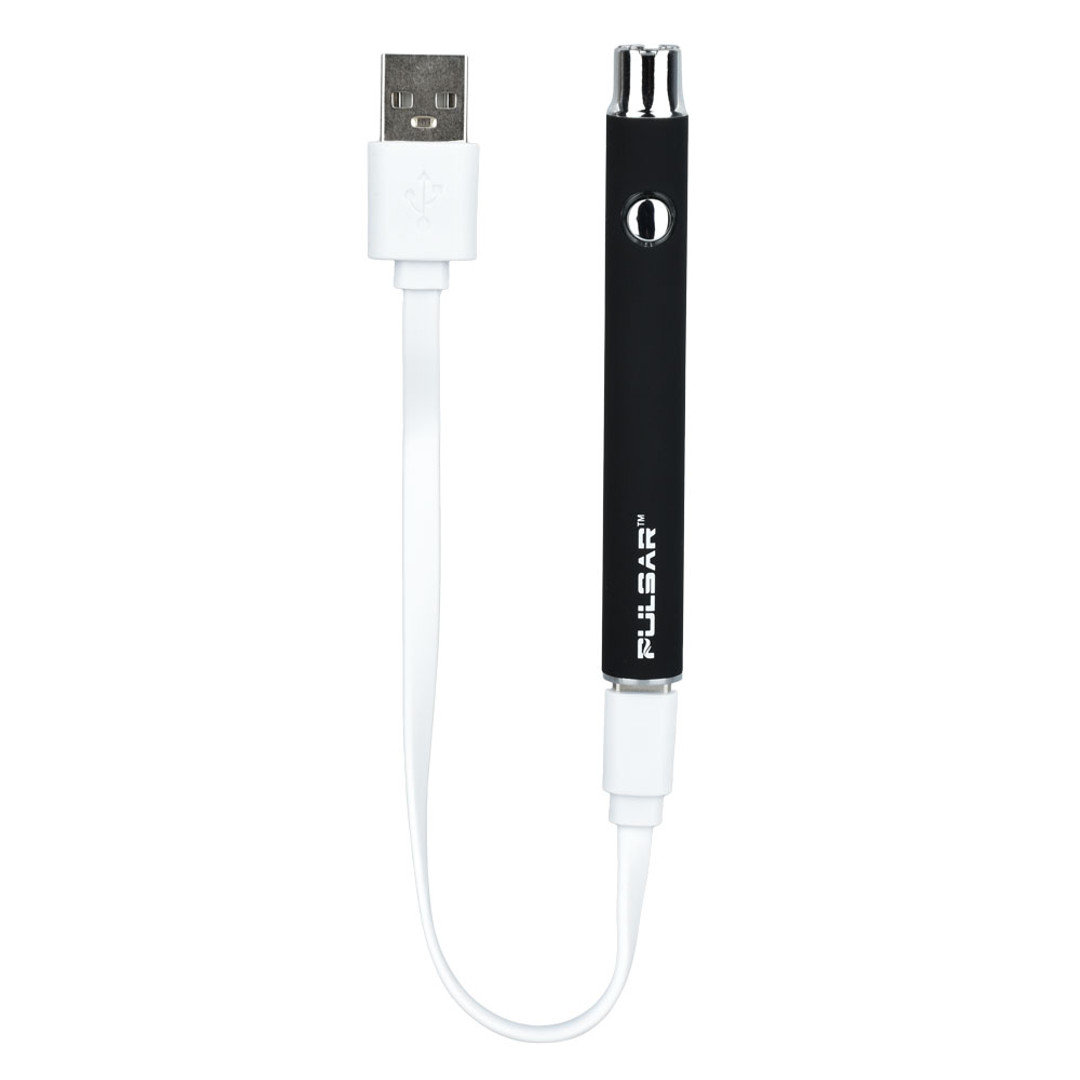
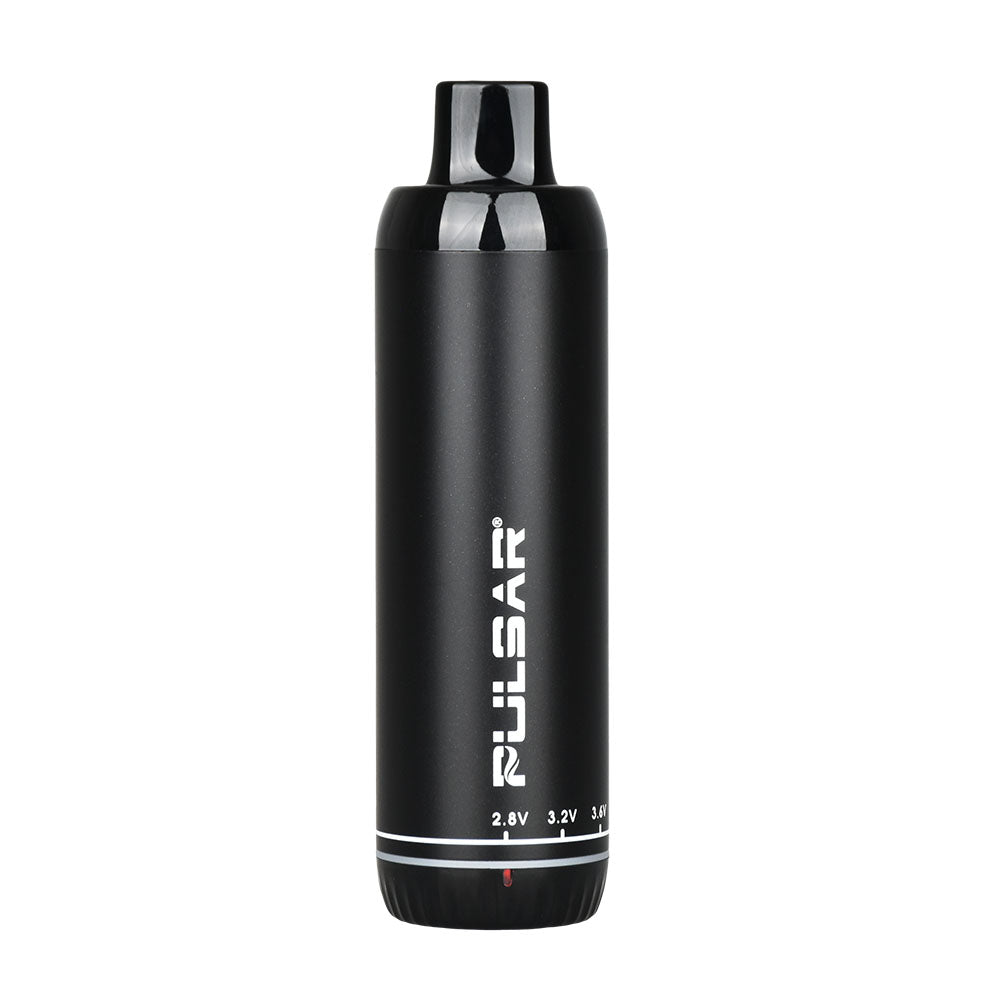
Pulsar Vape Battery Charging Instructions
To ensure your Pulsar vape pen is ready for use, it's crucial to properly charge the battery. Follow these step-by-step charging instructions:
- Start by connecting the USB charger to a power source, such as a computer or a wall adapter.
- Gently screw the threaded end of the USB charger onto the battery.
- The LED light on the charger will turn red, indicating that the battery is charging.
- Once the LED light turns green, the battery is fully charged and ready for use.
- Disconnect the charger from the battery.
How to Use a Pulsar Vape
Now that your Pulsar vape pen is charged, it's time to learn how to use it. Follow these simple steps:
- Attach the cartridge or tank to the battery by screwing it on firmly.
- Press the power button five times quickly to turn on the device. The LED light will flash to indicate that it's powered on.
- Adjust the settings, such as temperature or voltage, according to your preferences. Refer to the user manual for specific instructions on your model.
- Press and hold the power button while inhaling to activate the heating element and produce vapor.
- Release the power button after each puff and wait a few seconds before taking another hit.
How to Preheat a Pulsar Vape Pen?
Some Pulsar vape pens come with a preheat function, which helps prime the cartridge or tank for optimal vapor production. Follow these steps to preheat your Pulsar vape pen:
- Ensure the battery is fully charged and attached to the cartridge or tank.
- Press the power button two times quickly to activate the preheat function. The LED light will indicate that it's in preheat mode.
- Wait for about 10 seconds to allow the heating element to warm up the cartridge or tank.
- After preheating, proceed with regular inhalation as described earlier.
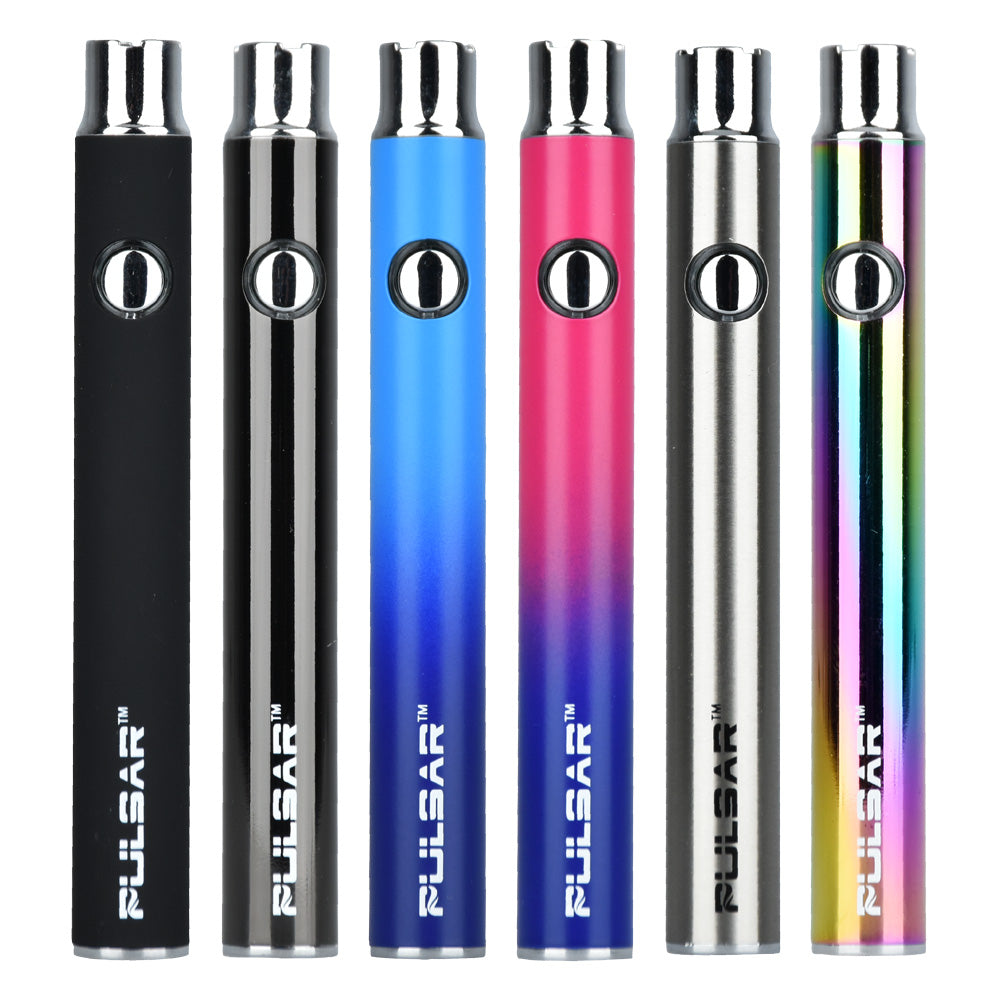
Features and Specifications of Pulsar Vape Pen
Pulsar vape pens come with a variety of features and specifications that cater to different vaping preferences. Here are some common features you may find in a Pulsar vape pen:
|
Feature |
Description |
|
Variable voltage |
Allows you to adjust the power output for customized vaping experience. |
|
Temperature control |
Enables you to set the temperature to achieve your desired vaporization level. |
|
Preheat function |
Priming the cartridge or tank for optimal vapor production. |
|
LED indicator lights |
Provides information about the battery level, temperature, and more. |
|
Compact and portable design |
Convenient for on-the-go vaping. |
|
Easy-to-use interface |
User-friendly controls and settings for seamless vaping experience. |
|
High-quality construction |
Durable materials and craftsmanship for long-lasting performance. |
Remember to refer to the user manual for your specific Pulsar vape pen model to fully understand its unique features and specifications.
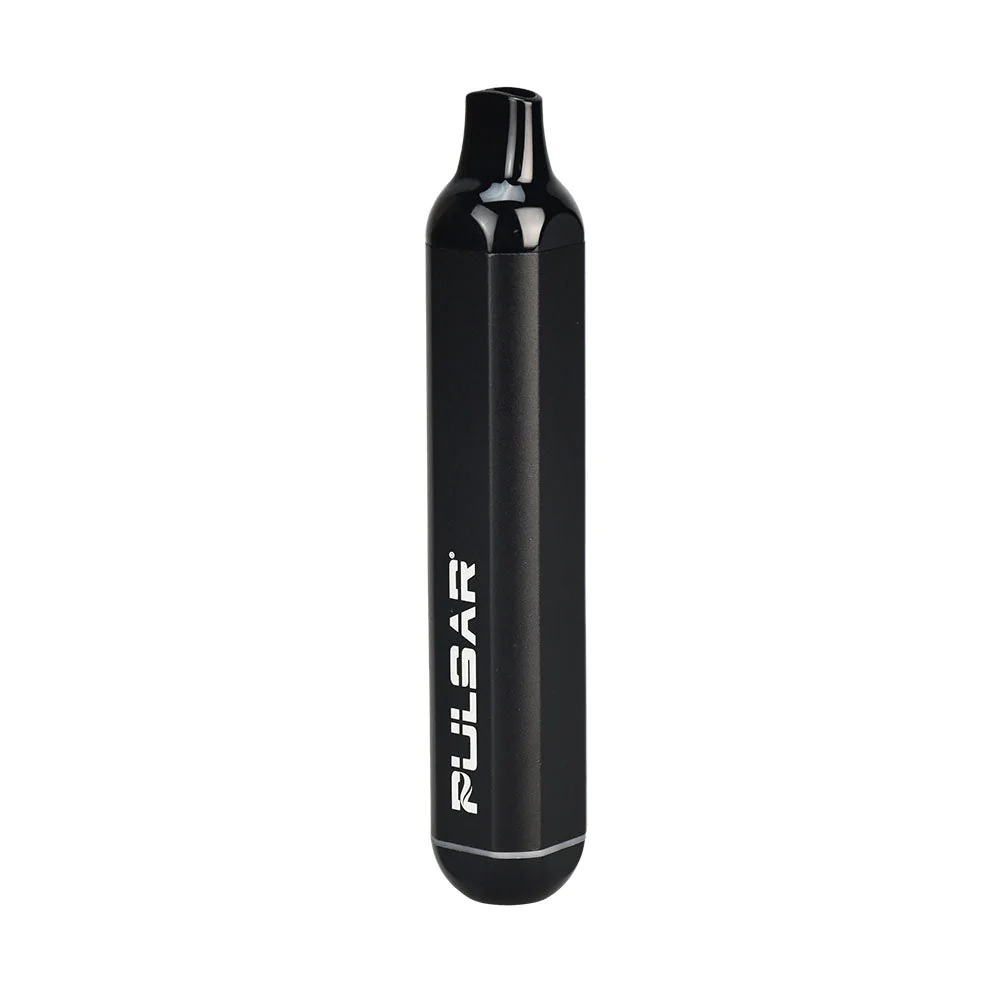
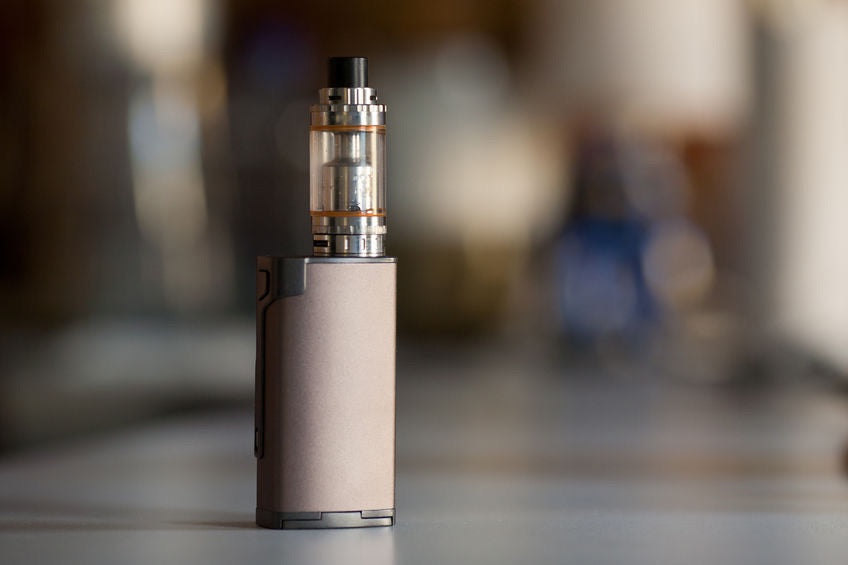
A Review About the Pulsar 510 DL 2.0 Pro Vape Bar
One popular Pulsar vape pen model is the Pulsar 510 DL 2.0 Pro Vape Bar. Let's take a closer look at its features and performance:
The Pulsar 510 DL 2.0 Pro Vape Bar is a versatile and reliable vape pen. With its variable voltage and temperature control, you can easily customize your vaping experience. The preheat function ensures consistent and flavorful vapor production.

The device features LED indicator lights that display battery level and temperature settings, allowing you to monitor your vaping session. Its compact and portable design makes it ideal for vaping on the go.
Users have praised the Pulsar 510 DL 2.0 Pro Vape Bar for its ease of use and excellent vapor quality. The high-quality construction ensures durability and long-lasting performance.
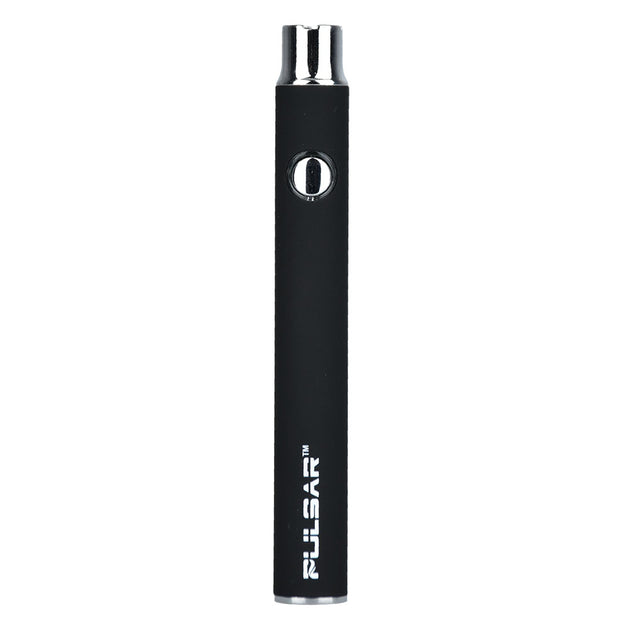
What is the Button for on a Pulsar Vape Pen?
The button on a Pulsar vape pen serves several functions. Here's a breakdown of what it does:
Power On/Off: Press the button five times quickly to power the device on or off.
Temperature/Voltage Adjustment: Depending on your model, pressing the button multiple times, or holding it down may allow you to adjust the temperature or voltage settings.
Preheat Activation: Some models require pressing the button multiple times to activate the preheat function.
Firing the Heating Element: Press and hold the button while inhaling to activate the heating element and produce vapor.
Refer to your specific Pulsar vape pen's user manual for detailed instructions on how to use the button functions.
How to Change the Settings on a Pulsar Vape
Each Pulsar vape pen model may have different methods for changing settings. However, the general process involves the following steps:
- Ensure the device is powered on.
- Press the button multiple times or hold it down, depending on your model, to access the settings menu.
- Use the button or other controls to navigate through the menu and select the desired setting.
- Press the button to confirm your selection.
- Follow any additional prompts or instructions provided by your specific Pulsar vape pen model.
Remember to consult your user manual for precise instructions on changing settings for your Pulsar vape pen.
How to Troubleshoot Pulsar Vape Pen Issues
If you encounter any issues with your Pulsar vape pen, try these troubleshooting steps before seeking further assistance:
Check the battery: Ensure the battery is fully charged and securely attached to the cartridge or tank.
Clean the contacts: Use a cotton swab dipped in rubbing alcohol to clean the connections between the battery and cartridge/tank.
Check the cartridge/tank: Ensure the cartridge or tank is properly filled and securely attached to the battery.
Adjust settings: Experiment with different temperature or voltage settings to find the optimal ones for your vaping preferences.
Reset the device: If all else fails, refer to your user manual for instructions on how to perform a factory reset.
If the issue persists, contact Pulsar customer support for further assistance.
Maintenance and Care of a Pulsar Vape
Proper maintenance and care are essential for prolonging the lifespan of your Pulsar vape pen. Here are some tips to keep in mind:
Regular cleaning: Clean the cartridge/tank, battery, and mouthpiece regularly to remove any residue or buildup.
Avoid overcharging: Once the battery is fully charged, disconnect it from the charger to prevent overcharging.
Store properly: When not in use, store your Pulsar vape pen in a cool and dry place to maintain its performance.
Replace components when necessary: Cartridges, coils, and other components may need replacement over time. Follow the manufacturer's recommendations for replacement intervals.
By following these maintenance practices, you can enjoy a consistent and satisfying vaping experience with your Pulsar vape pen.
FAQs About Pulsar Vape Battery
Why is my Pulsar Vape Pen Blinking Red?
A blinking red light on your Pulsar vape pen typically indicates a low battery. Recharge the battery to resolve this issue.
Why is my Pulsar Vape Pen Blinking White?
A blinking white light on your Pulsar vape pen usually indicates that the device is heating up. Allow it to cool down before using it again.
Why is a Pulsar Vape not Hitting?
If your Pulsar vape pen is not producing any vapor when inhaling, consider these possible causes:
- Battery is low: Recharge the battery if it's running low.
- Cartridge/tank is empty: Ensure the cartridge or tank is properly filled.
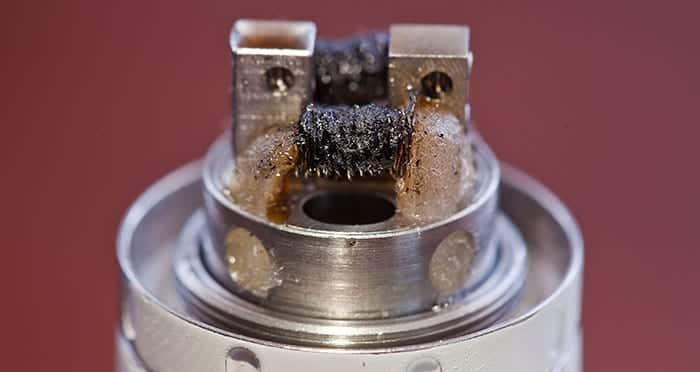
- Coil needs replacement: If the coil is old or burnt out, replace it with a new one.
- Improper assembly: Check that all components are securely connected.
If the issue persists, refer to the troubleshooting section or contact Pulsar customer support for assistance.
About UPENDS Switch Mini
The UPENDS Switch Mini is a compact and convenient vaping device that offers a satisfying experience for users on the go. With its sleek and portable design, it's perfect for those who prefer a discreet vaping option.
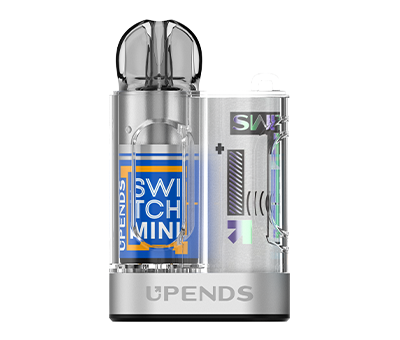
The device provides a smooth and flavorful vape, making it a great choice for vapers looking for a hassle-free and enjoyable experience. Its ease of use and compact size make it a practical option for everyday vaping. Overall, the UPENDS Switch Mini is a reliable and stylish choice for vapers seeking a convenient and high-quality vaping device.


 +86-755-2668-7707
  info@upends.com
  www.upends.com
  No.2 Industrial 3rd Rd, Shiyan Shenzhen, 518107, China.


