

 6th Feb 2024
 374
374 Cyrus
Cyrus


13th Mar 2024
Looking to elevate your vaping experience with a Pax vaporizer? Look no further. In this article, we provide you with easy-to-follow Pax vape instructions that will have you enjoying your favorite herbs and concentrates in no time. Whether you're a beginner or an experienced vaper, we've got you covered.
Our step-by-step guide will walk you through the setup process, how to load your materials, and how to achieve the perfect temperature for optimal vapor production. With our detailed instructions, you'll be able to unlock the full potential of your Pax vaporizer and enjoy a smooth and satisfying vaping session every time. So, grab your Pax and let's get started!
What is a Pax Vaporizer?
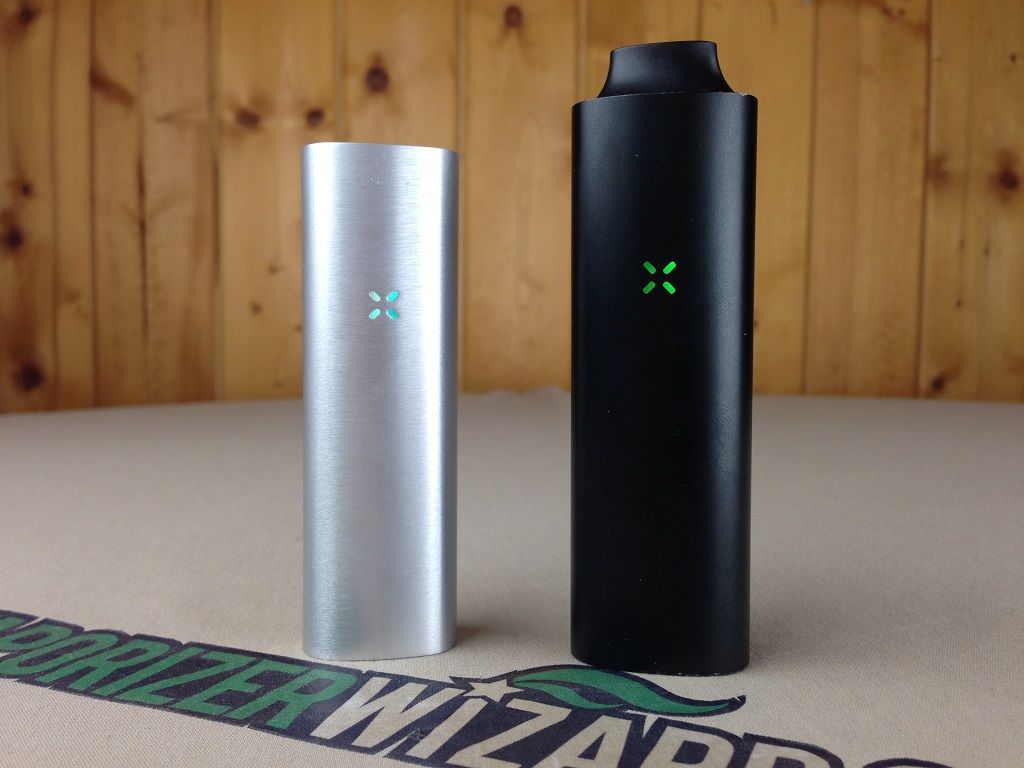
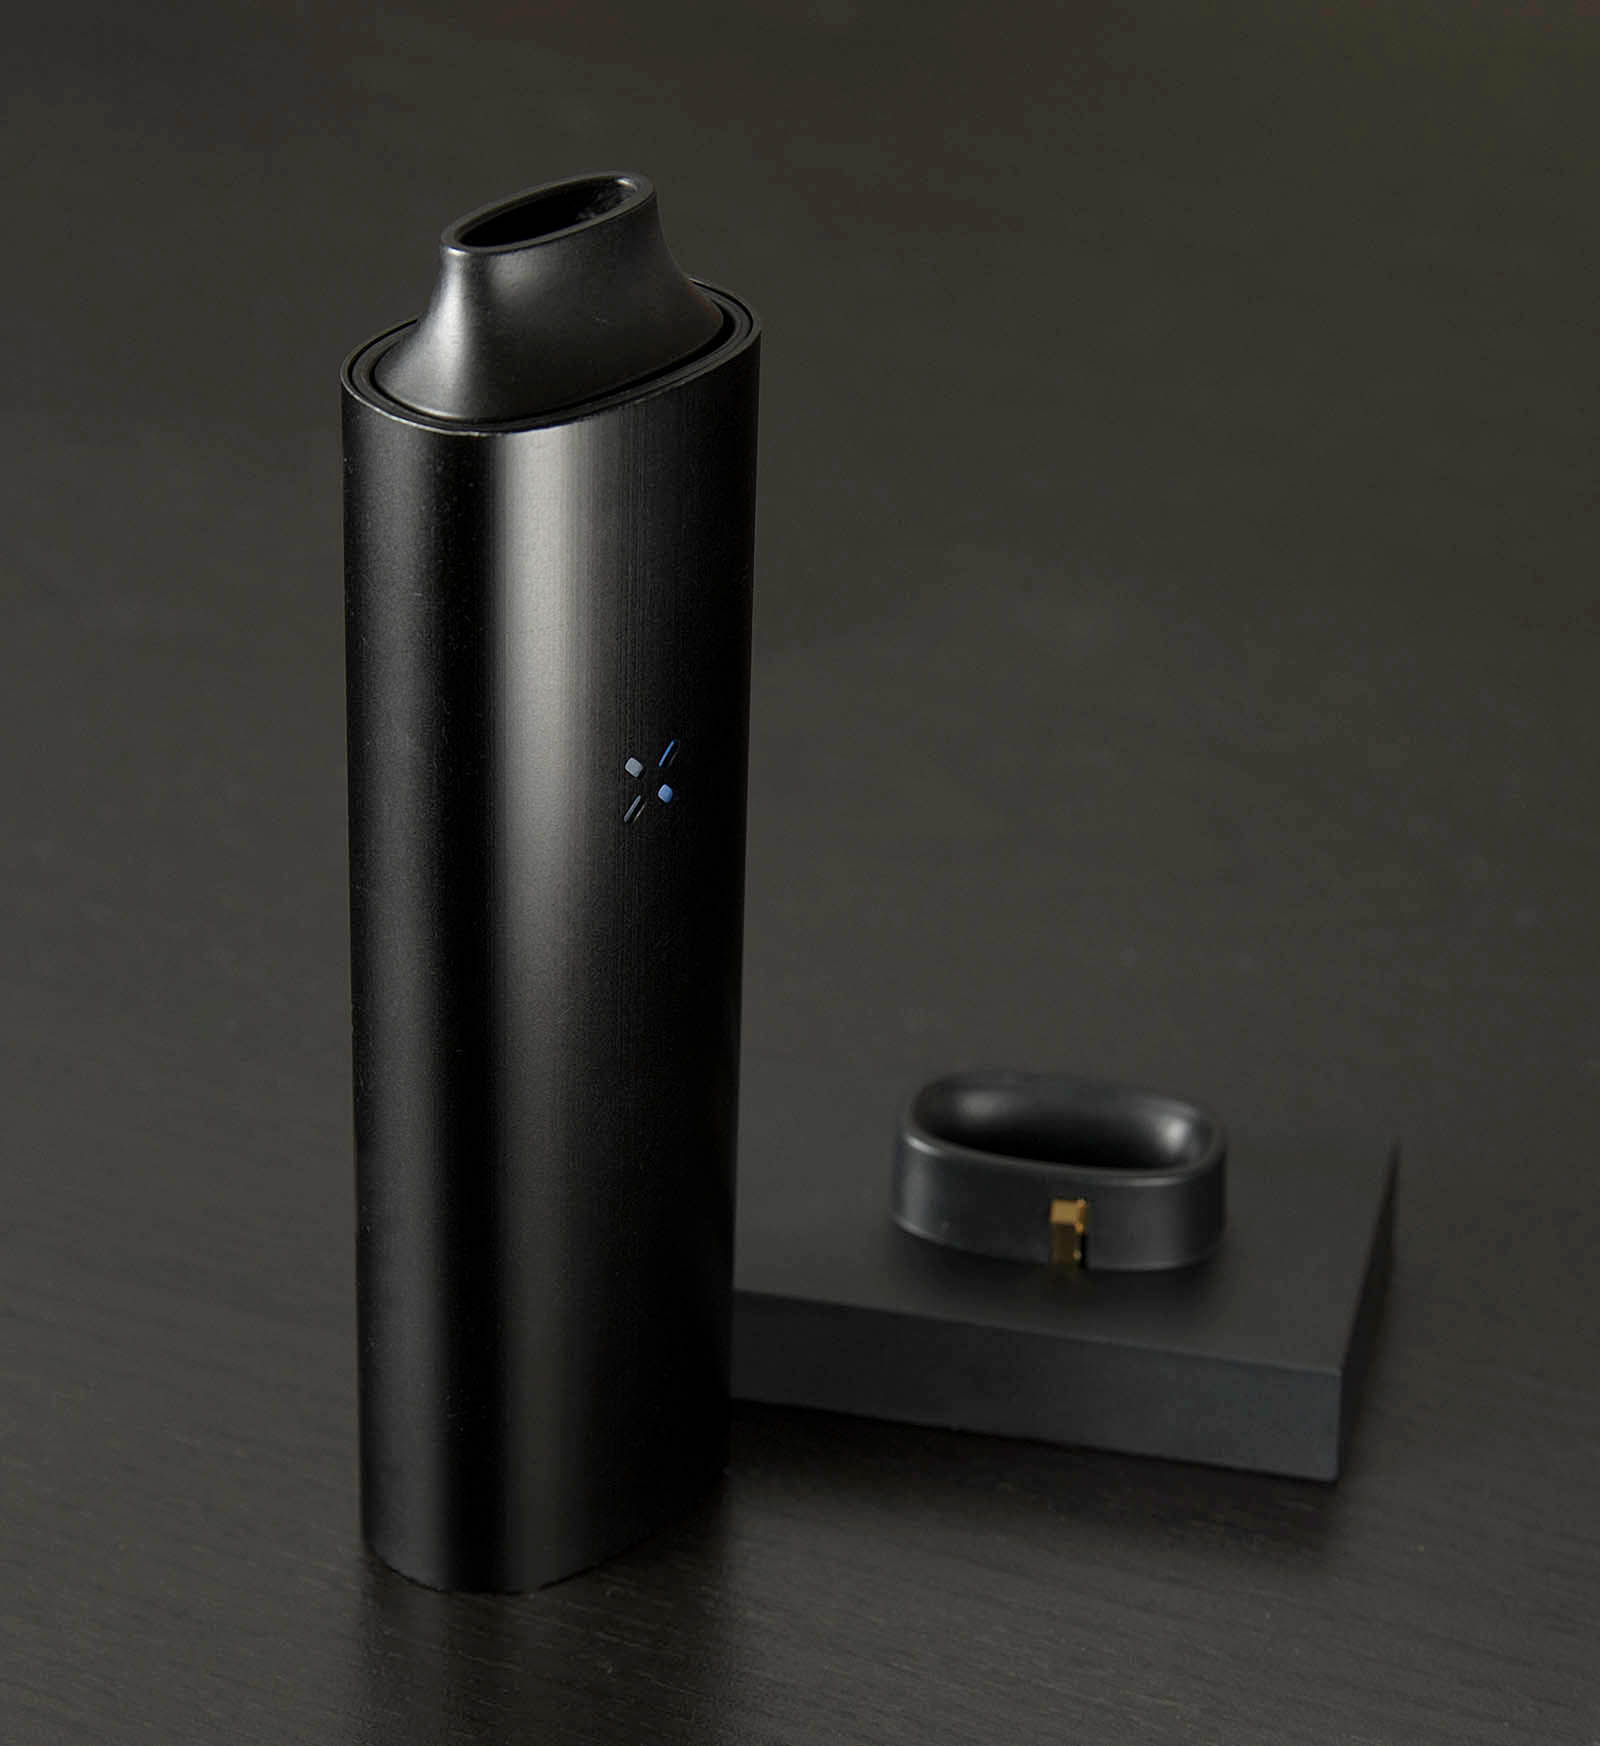
Pax Vaporizers are sleek, portable, and high-performance devices designed for dry herb vaping. They are known for their cutting-edge technology, excellent vapor quality, and user-friendly interface. The Pax Vaporizer range includes different models, each with its own unique features and capabilities.
Different Models of Pax Vaporizers
Pax offers a range of vaporizers to cater to different preferences and budgets. Let's take a closer look at the three main models:
- Pax 1
The Pax 1 was the first vaporizer released by Pax. While it may be an older model, it still delivers an exceptional vaping experience. It features a durable design, a stainless-steel oven, and a single button interface. The Pax 1 offers four temperature settings and provides smooth and flavorful vapor.
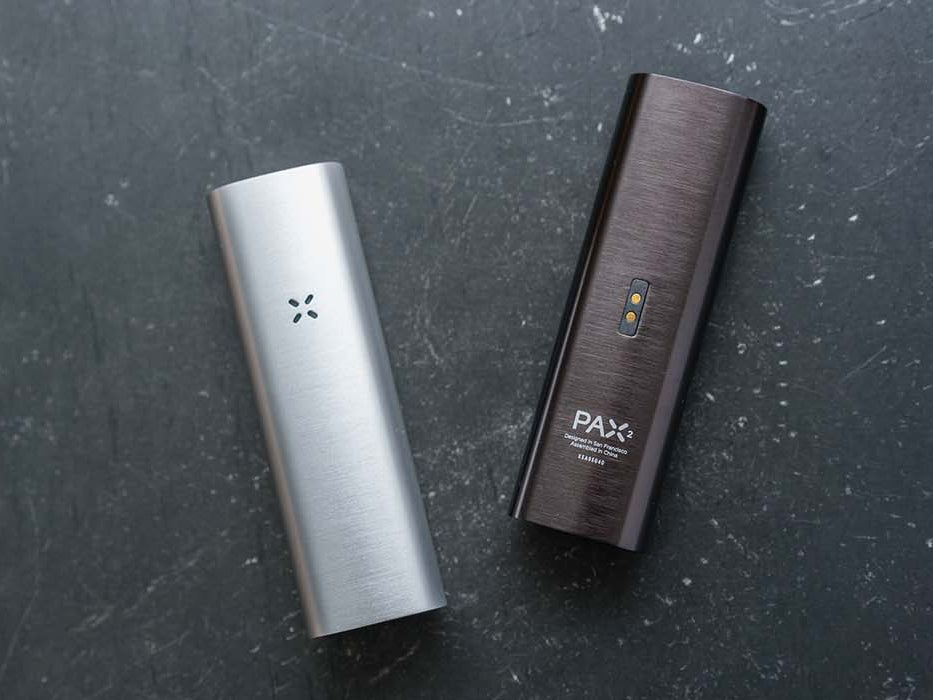
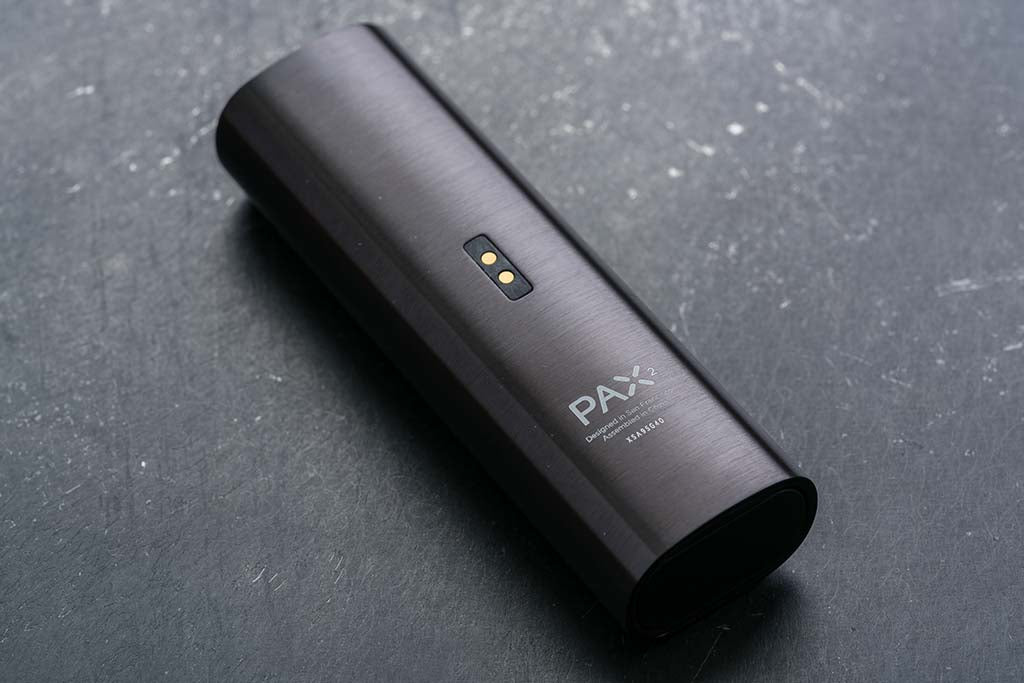
- Pax 2
The Pax 2 is a compact and powerful vaporizer with improved features compared to its predecessor. It boasts a deeper oven, enhanced battery life, and an upgraded heating system. The Pax 2 also introduces lip-sensing technology that optimizes heat and provides consistent vapor production. With four temperature settings and an intuitive interface, the Pax 2 offers a customizable vaping experience.
- Pax 3
The Pax 3 is the latest addition to the Pax Vaporizer lineup. It combines sleek design, advanced technology, and versatility. The Pax 3 can be used with both dry herb and concentrates. It features a powerful battery, a faster heat-up time, and an extended session mode. With the Pax 3, you can choose between five temperature settings and enjoy precise temperature control for optimal vaporization.
Unboxing Your Pax Vaporizer
When you first receive your Pax Vaporizer, unboxing it can be an exciting experience. Here's what you can expect when unboxing your Pax Vaporizer:
- The Pax Vaporizer itself, beautifully designed and compact.
- A USB charging cable to charge your device.
- A maintenance kit that includes cleaning tools for easy maintenance.
- User manuals and instructions to guide you through the setup process.
- A warranty card to ensure peace of mind.
Make sure to keep all the packaging materials in case you need them for any warranty claims or returns.
Initial Setup and Charging
Before you start using your Pax Vaporizer, it's essential to give it an initial charge. Follow these steps to set up and charge your device:
- Connect the USB charging cable to your Pax Vaporizer and plug the other end into a power source.
- The LED lights on the device will indicate the charging status. Wait until the lights turn green, indicating a full charge.
- While your device is charging, take this time to read through the user manual and familiarize yourself with the various parts of your Pax Vaporizer.
Understanding the Interface and Controls
Each Pax Vaporizer model has its own interface and controls. Familiarize yourself with the interface of your specific model by referring to the user manual. Here are some common features you may find:
Power button: The power button turns the device on and off and may also be used to cycle through temperature settings.
Temperature settings: Pax Vaporizers offer different temperature settings to customize your vaping experience. The temperature can be adjusted using the interface buttons or through the Pax App.
LED lights: The LED lights on the device indicate battery life, temperature status, and other important information. Refer to the user manual for specific details on what each light means.
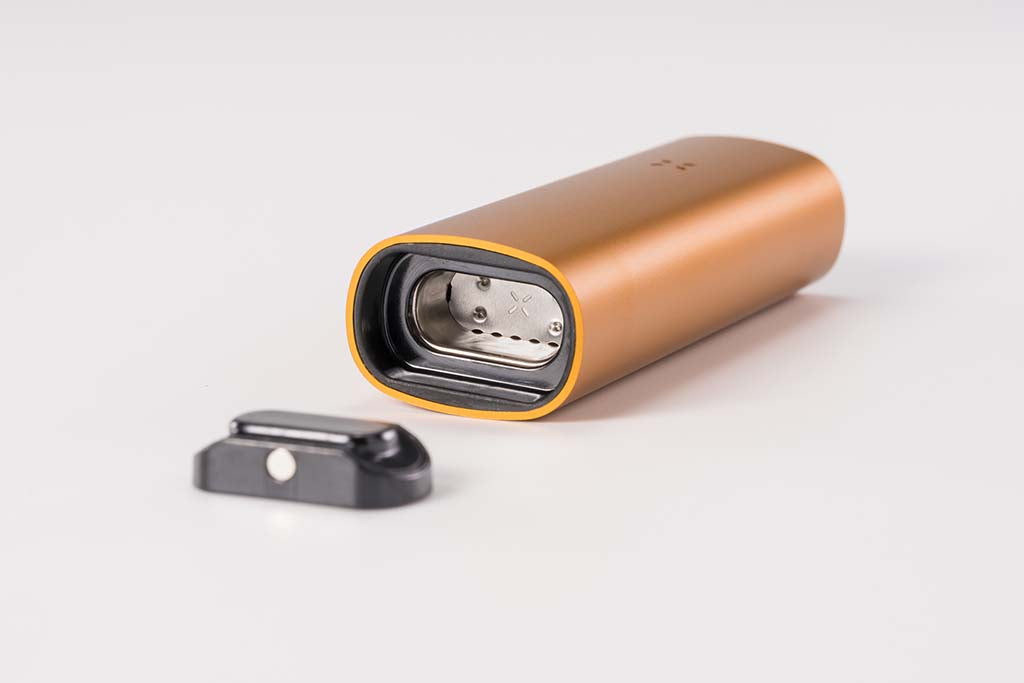
How to Load and Pack the Oven
Loading and packing the oven of your Pax Vaporizer correctly is crucial for optimal vapor production. Here's a step-by-step guide on how to load and pack the oven:
- Grind your dry herb to a medium-fine consistency using a grinder.
- Remove the oven lid of your Pax Vaporizer to expose the chamber.
- Fill the oven chamber with your ground herb, ensuring not to overpack it. A loosely packed oven allows for better airflow and vapor production.
- Replace the oven lid, ensuring it is securely in place.
Turning On and Selecting Temperature Settings
Once you have loaded and packed the oven, it's time to turn on your Pax Vaporizer and select the desired temperature setting. Follow these steps:
- Press the power button on your Pax Vaporizer multiple times to turn it on.
- The LED lights will indicate the current temperature setting. Use the interface buttons or the Pax App to adjust the temperature as desired.
- Allow your Pax Vaporizer to heat up to the selected temperature. The LED lights will indicate when it is ready for use.
The Vaping Process: Taking Your First Draw
Now that your Pax Vaporizer is loaded, packed, and heated to the desired temperature, it's time to take your first draw. Here's how to do it:
- Place your lips on the mouthpiece of your Pax Vaporizer.
- Begin drawing slowly and steadily, allowing the vapor to flow into your mouth.
- Take short breaks between draws to allow the oven to maintain the desired temperature.
- Experiment with different draw techniques and inhalation speeds to find what works best for you.
- Enjoy the smooth and flavorful vapor produced by your Pax Vaporizer.
How to Use Pax 1
The Pax 1 may be an older model, but it still provides a fantastic vaping experience. Here's a brief overview of how to use the Pax 1:
- Load and pack the oven following the instructions provided earlier.
- Press the power button located in the center of the mouthpiece to turn on the device.
- Use the mouthpiece to cycle through the temperature settings.
- Wait for the LED lights to indicate that the device has reached the desired temperature.
- Begin drawing from the mouthpiece and savor the vapor produced by your Pax 1.
How to Use Pax 2
The Pax 2 builds upon the success of its predecessor and offers improved features. Here's a quick guide on how to use the Pax 2:
- Load and pack the oven as per the instructions mentioned earlier.
- Press the power button located at the center of the mouthpiece to turn on the device.
- Use the interface buttons to cycle through the temperature settings and select your desired temperature.
- Wait for the LED lights to indicate that the device has reached the selected temperature.
- Take slow, steady draws from the mouthpiece and enjoy the smooth vapor produced by your Pax 2.
How to Use Pax 3 with Flower
The Pax 3 is a versatile vaporizer that can be used with both dry herb and concentrates. Here's a step-by-step guide on how to use the Pax 3 with flower:
- Load and pack the oven with your ground herb following the instructions provided earlier.
- Press the power button located at the center of the mouthpiece to turn on the device.
- Use the interface buttons or the Pax App to select the temperature setting suitable for dry herb.
- Wait for the LED lights to indicate that the device has reached the desired temperature.
- Begin drawing from the mouthpiece and enjoy the flavorful vapor produced by your Pax 3.
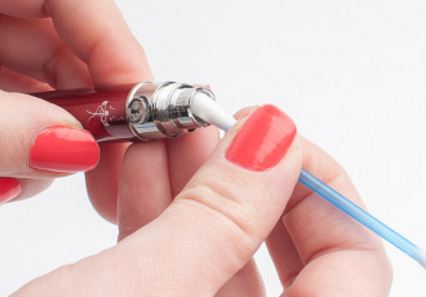
Pax Plus Vape Instructions
In addition to the main Pax Vaporizer models, Pax also offers the Pax Plus, a compact and discreet vape pen. Here are some instructions on how to use the Pax Plus:
- Remove the mouthpiece to reveal the cartridge chamber.
- Insert your pre-filled cartridge into the chamber, ensuring it is securely in place.
- Replace the mouthpiece, making sure it is tightly fitted.
- Press the power button multiple times to turn on the device.
- Inhale from the mouthpiece while holding down the power button to activate the heating element and enjoy the vapor produced by your Pax Plus.
Cleaning and Maintenance Tips
Regular cleaning and maintenance are essential to keep your Pax Vaporizer in optimal condition. Here are some cleaning and maintenance tips:
- After each session, remove the oven lid and use the included cleaning tools to remove any residue from the oven chamber.
- Clean the mouthpiece and screen regularly using isopropyl alcohol and a cleaning brush.
- Ensure that the contacts between the oven and the mouthpiece are clear of any debris.
- Wipe down the exterior of your Pax Vaporizer with a soft, damp cloth.
Follow the specific cleaning instructions provided in the user manual for your Pax Vaporizer model.
Troubleshooting Common Issues
While Pax Vaporizers are known for their reliability, you may encounter some common issues. Here are a few troubleshooting tips:
|
Issue |
Solution |
|
No vapor production |
Check the oven and make sure it is properly loaded and packed |
|
Device not turning on |
Ensure the device is charged and the battery is not depleted |
|
Poor battery life |
Fully charge the device before use |
|
Irregular temperature output |
Clean the contacts between the oven and mouthpiece |
|
Device not heating up |
Contact Pax customer support for further assistance |
If the issue persists, it's best to reach out to Pax customer support for further guidance.
Advanced Features and Pax App Integration
Pax Vaporizers come with advanced features and can be enhanced further using the Pax App. Here are some advanced features and how to integrate them:
Dynamic Modes: The Pax App allows you to choose between different dynamic modes, such as Boost and Efficiency, to customize your vaping experience.
Temperature Control: The Pax App provides precise temperature control, allowing you to set the temperature to your exact preference.
Firmware Updates: The app enables you to receive firmware updates, ensuring your Pax Vaporizer is always up to date with the latest features and improvements.
To integrate the Pax App with your vaporizer, download the app from your device's app store and follow the on-screen instructions for pairing.


 +86-755-2668-7707
  info@upends.com
  www.upends.com
  No.2 Industrial 3rd Rd, Shiyan Shenzhen, 518107, China.


