

 31st Jan 2024
 206
206 Dickson


13th Mar 2024
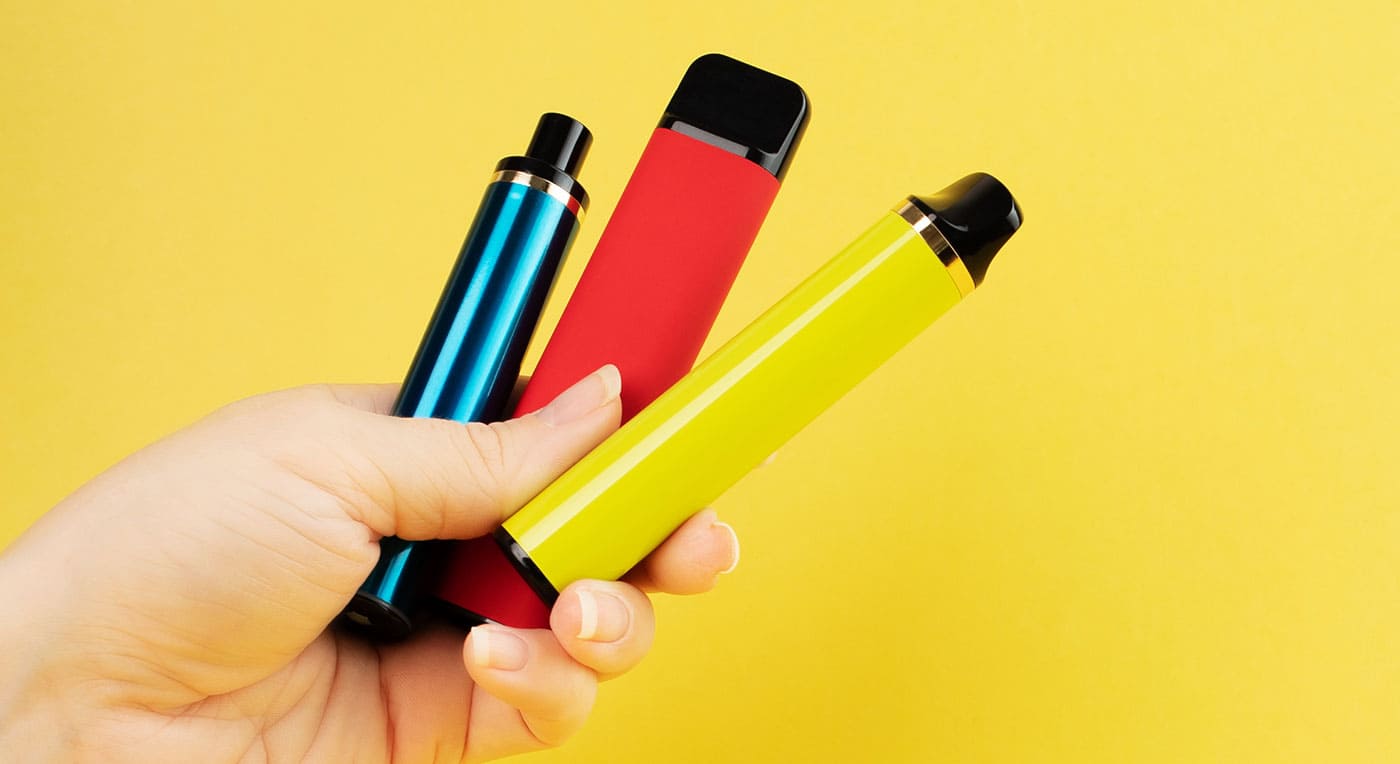
DIY vape juice is gaining widespread popularity as it offers a lot of customization and flexibility. You can make the e-juice in a way that suits all you want. Plus, you don't have to buy refills for your reusables. Talk about saving on some cash!
This article addresses some of the best conditions, the required equipment, and ingredients. Once you finish this article, you will know how to make your flavorful and spicy e-liquid. Expect a robust breakdown with helpful tips! Let's start on how to become a D.I.Y. vaper and maker.
Understanding the Basics of Vape Juice

Before you start making your bespoke vape juice, it is critical to know its contents. This way, you know what to expect and get a glimpse of the required ingredients. Here are the contents of a vape juice:
- Propylene glycol
- Vegetable Glycerin
- Flavoring
- Water
- Nicotine
However, the content of the vape juice might vary depending on the vape brand. For example, some brands make non-nicotine e-cigarettes. Also, Propylene glycol and Vegetable glycerin always appear. But they both come in varying degrees.
Aside from the contents, the proportions are equally crucial. The e-liquid mix is the ratio of vegetable glycerin and propylene glycol. For instance, an e-liquid mix of 70/30 has a 70% VG /30%PG.
The different ratio has its functions. For the VG, high amounts create a cloud in the mouth that prevents harsh throat hits. In contrast, PG doesn't create clouds. Hence, it offers better flavor delivery and increased throat hot sensation. PG and VG make up the bulk of e-liquid. Both take up to 90%. The water, flavoring, and nicotine contribute about 10-18% of the liquid.
Note: The proportions depend on what you hope to achieve with your vape pen.
Step-by-Step Guide on Making Vape Juice at Home
Now that you know what the vape juice typically contains, it is time to get to the manufacturing process. Here are the required equipment and ingredients:
Equipment:
- Bottles: You should get two types of bottle sizes. You will need the five and 10ml bottle sizes for measuring and mixing tester fluids. You will also need 30ml or more significantly to keep all the e-liquid you will make safe.
- Measuring Containers: If it is a small batch, you can skip the measuring containers. But if you want to make large batches, you should invest in getting them. Get a set of three: 150ml, 250ml, and 800ml.
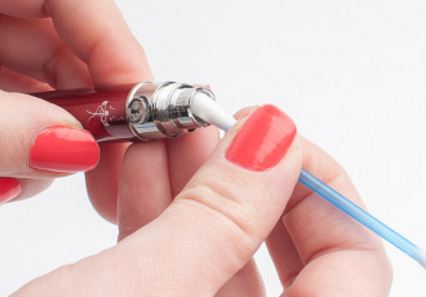
- Syringe or Pipette: When making your e-liquid, you are working with precise quantities. The syringe ensures you get the proper amounts of the required contents when making the vape juice.
- Gloves and Tissue Papers: Gloves are essential in this manufacturing process. They serve as a guide from spills. Nicotine and other contents are better off nowhere near your skin. Also, ensure the gloves are powder-free to avoid contamination.
The toilet paper is to ensure you have a clean space. You can use the tissue paper to mop dry spillages and clean the equipment before and after use. If you don't have toilet paper, a clean towel also works.
After gathering the equipment, you have a fully kitted workspace. It is time to move on to the ingredients. However, we have discussed this prior, so here is a brief list:
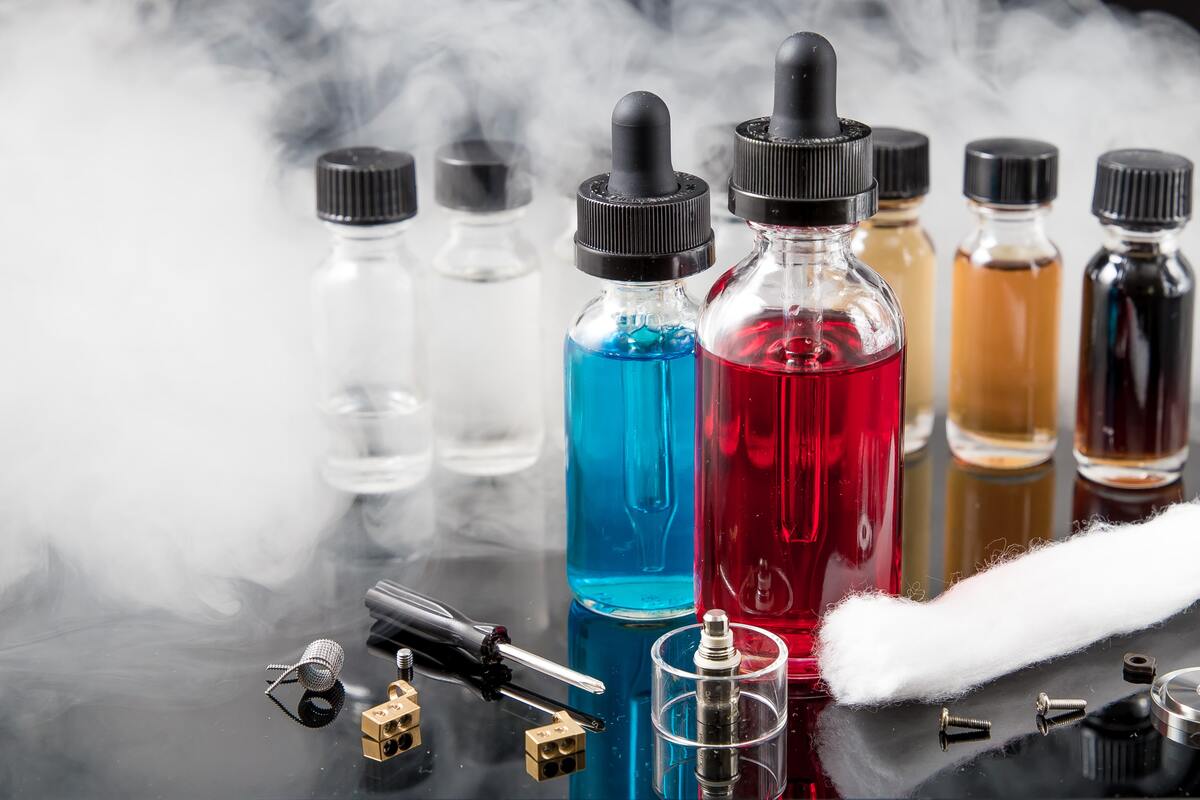
Ingredients:
- Nicotine shots (skip this ingredient if you are opting for a non-nicotine vape juice)
- Use nicotine salts for a firmer and smoother e-liquid
- VG and PG liquid
- Vape juice flavor concentrate (many flavors exist)
Let's get started on how to make your very own vape juice:
Step 1: Take Your Measurements
Once you have all you need to make the e-liquid, you must answer critical questions. What amount do you plan to make? How strong do you want it to be in terms of nicotine? Do you want a thick VG vape juice or a thicker PG one?
Take your time to meditate on the answer you want. After, you will need a vape juice calculator. Don't fret; it is not anything out of the ordinary. You can find several options from a quick Google search. On the site, insert information like each ingredient's intended percentage or volume. The calculator will take all the values and tell you the necessary measurements.
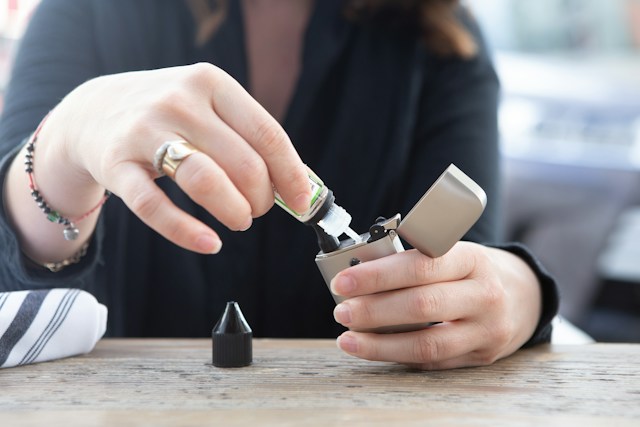
Step 2: Create Your Base Mix
It is time to get those gloves on! Compile the values you get from the vape juice calculator. Note that the measurements are typically in ml. Get the right-sized syringe to collect PG and VG, then deposit it in the beaker you want to use for the vape juice. Give the syringe a good rinse after you have made the base mix.
Step 3: Add the Vape Juice Flavor Concentrate
You need to add flavor to your base mix, where the concentrate comes in. While you can vape your base mix, it will not be a flavorful experience. PG lacks flavor, and VG only has a slightly sugary taste.
While the vape calculator provides the required volume for the flavor concentrate, you can play around with the amount. This part of the process is experimental and depends on how strong you want the vape to get.
The standard percentage for a subtle taste is 5%, and 20% of the vape juice is regarded as the upper limit. At 20%, it gets too strong for most people. So if you want a vape juice 20ml, the flavor concentrate will be 4ml if you are going for really strong.
Step 4: Put Nicotine
This step requires more care than the ones before it. Nicotine is a powerful substance. It would be best if you got the proper dosage for an enjoyable vaping experience. For this step, we advise that you stick to the information in the vape juice calculator. Don't go overboard. Also, note the nicotine source.
Step 5: Stir the Mixture and Bottle It
By now, your mixture in the vape juice container has VG, PG, nicotine, and flavor concentrate. Stir the mixture together. Once you are satisfied, get the syringe and use it to transfer the vape juice to the bottles you got earlier.
That's not all, though. At this point, you are about 90% done; there is still 10% left. While you start to vape immediately, a little more wait will make the vape juice way better.
Put your bottles in a cool, dry, dark place with their lids removed. This process allows your vape juice to get more flavorful. The average steep time is 4-5 days, but trust us when we say it is worth the wait.
Exploring Flavor Combinations and Customization
Fortunately, there are several flavors in the vape industry. You have access to so many, from watermelon to apples. Your vape juice can have any flavor. However, you can make your flavors. Combining flavors is more than allowed. Put two, three, or four together! Ensure they all come together within the required flavor percentage concentrate.
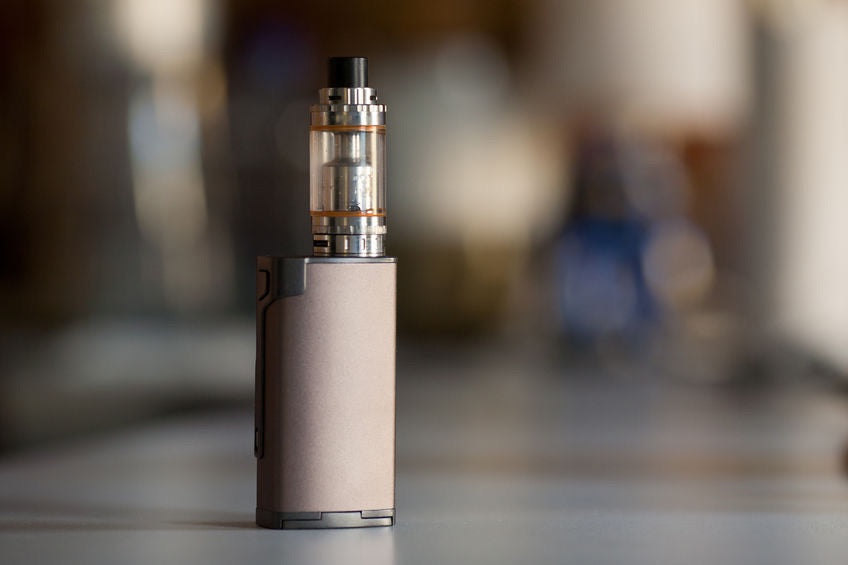
Why Get Your Next Vape from Upends?
While DIY vape juice is excellent, you still have to vape. And undoubtedly, you want the best refillable for that. Luckily, Upends has some of the best refillables on the market. Once your manufacturing process is done, you need a sophisticated vape pen to turn your juice into vapors. We recommend Upends.
Get the best vaping experience with this fantastic vape brand. Upends knows how to make the best refillable, which their designs show. At an affordable price, start your refillable vaping experience today with Upends. They are the fan's favorites for a reason.
FAQs About Making Your Vape Juices
1) Can I use regular kitchen utensils for making vape juice?
You can. However, it would help if you still bought equipment like syringes, bottles, and gloves. But if you already have all those, all that's left is the ingredients.
2) What's the significance of steeping, and how long should I steep my vape juice?
Steeping helps enhance the flavor of your vape juice. While you can vape the e-liquid right after mixing, steeping improves the experience. The typical steep period is 4-5 days. Also, ensure you steep your vape juice in a cool, dry, and dark place with the lids of the bottles open.
3) Are there any specific flavor combinations that beginners should try?
No specific combinations come to mind. Go wild with your flavor combinations. They are not dangerous.
4) Can I adjust the nicotine levels in my D.I.Y. vape juice?
Yes. We advise you to keep less than more, however. Nicotine is a very addictive and powerful substance. We recommend the use of a vape juice calculator when trying to figure out the amount of nicotine levels to use.
5) Can a scale be used to measure vape juice ingredients, or can I use volume measurements?
Any method you use is acceptable. But ensure that you get the proper proportions. We recommend using volume measurements as they are easier to follow.
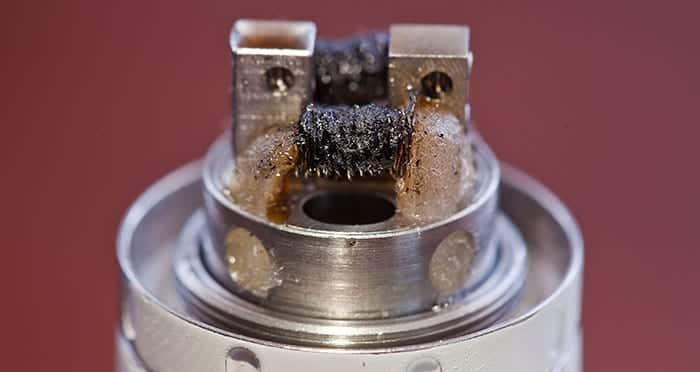
6) How do I troubleshoot common issues like harsh throat hits or muted flavors in my homemade vape juice?
Every ingredient in vape juice plays an important role. A harsh throat hit means you need more VG (vegetable glycerin) in the mix or less of PG (Propylene glycol). Similarly, if it is not tasty enough, add more flavors.
Conclusion
D.I.Y. vape juice making is a fascinating pastime that will save you a lot of costs. If you love to customize your flavors or as intense throat hits, you can make yours instead. Plus, it is simple. You don't need any unique know-how. Follow our instructions and use the correct proportions; you have bespoke vape juice.


 +86-755-2668-7707
  info@upends.com
  www.upends.com
  No.2 Industrial 3rd Rd, Shiyan Shenzhen, 518107, China.


